Nic Nichols
Projects
Redscale Streets
County Fair
Temples in Japan
Pentax Auto 110
Port Deposit
New York with a 110 camera
Holga Flowers
The Junk Store
Real Cow Fake Cow
Yokohama
Stuffed Bears
Air Transport Command
Tokyo Streets
Morris Arboretum
Holga 135
Eastern State Penitentiary
Route 13
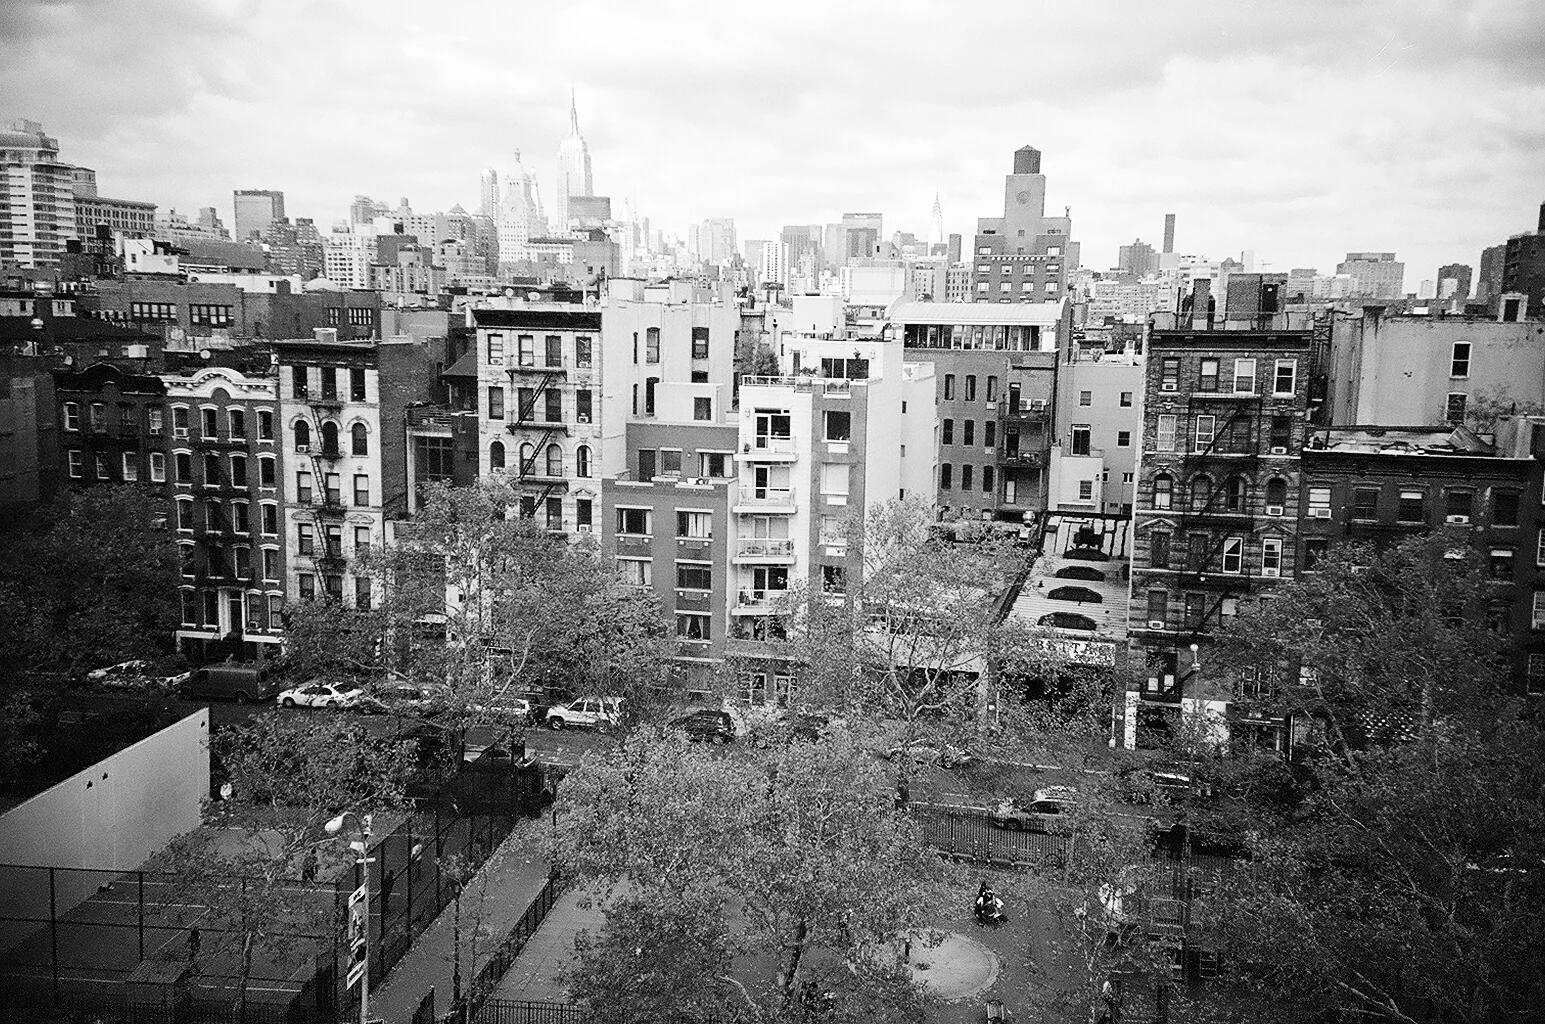
New York City Streets
About
Projects
Redscale Streets
County Fair
Temples in Japan
Pentax Auto 110
Port Deposit
New York with a 110 camera
Holga Flowers
The Junk Store
Real Cow Fake Cow
Yokohama
Stuffed Bears
Air Transport Command
Tokyo Streets
Morris Arboretum
Holga 135
Eastern State Penitentiary
Route 13
New York City Streets
About
Mailing address
PO BOX 111
Montchanin, De 19710
Projects
/
Redscale Streets
Projects
/
County Fair
Projects
/
Temples in Japan
Projects
/
Pentax Auto 110
Projects
/
Port Deposit
Projects
/
New York with a 110 camera
Projects
/
Holga Flowers
Projects
/
The Junk Store
Projects
/
Real Cow Fake Cow
Projects
/
Yokohama
Projects
/
Stuffed Bears
Projects
/
Air Transport Command
Projects
/
Tokyo Streets
Projects
/
Morris Arboretum
Projects
/
Holga 135
Projects
/
Eastern State Penitentiary
Projects
/
Route 13
Projects
/
New York City Streets